

3D-Printed XLR Adapters for Pseudo-ORTF: Zoom M4 and Tascam FR-AV2
A compact stereo rig for the Zoom M4 and Tascam FR-AV2: my 3D-printed XLR adapters, the pseudo-ORTF geometry, and the practical tradeoffs.
I have always had a love/hate relationship with handheld recorders (well until I bought the D100…) The capsules tend to be noisy, and the compromises made to keep them small tends to limit the stereo imaging, especially for headphones. So very early on in my field recording journey I started using external mics. First spaced clippy omnis, then a AT835ST mid/side shotgun, and then finally a pair of Rode M5 SDC cardioids. While those M5s have been updated in my backpack (mostly due to their sensitivity to RF noise,) I think they are the pair of mics that taught me the most about recording, and especially about how I like my recordings to sound.
What I didn’t love about them, was the need for all the extra cables and faff to get them setup (although little did I know about Mogami W3031 at that point.) So what could I do to have something akin to the convenience of a handheld recorder, but the sound quality of external mics? Well, enter 3d printing!
In Fusion I whipped up some CAD files that would allow an XLR connector to plug into the port on the recorder, then angle itself to match 110° specified in ORTF (which became my go to stereo technique.) After a trip to the 3D-printer, some set/grub screws, and wire, I had some XLR adapters for a compact pseudo-ORTF recording!
Originally I made them for my Zoom M4 MicTrak (which also works on my F6,) and later made up a pair for use with my Tascam FR-AV2 (which fit the F3.) The idea is to plug a pair of microphones directly into the recorder at the right (as in correct) angle, and boom, you’re ready to rock (or record.) High speed/low drag, my favorite.
I first wrote about the M4 adapters on my personal blog, and the 3D-print files are on Thingiverse. This is just another look at what I was noodling with, and what the arrangement does and does not give you.
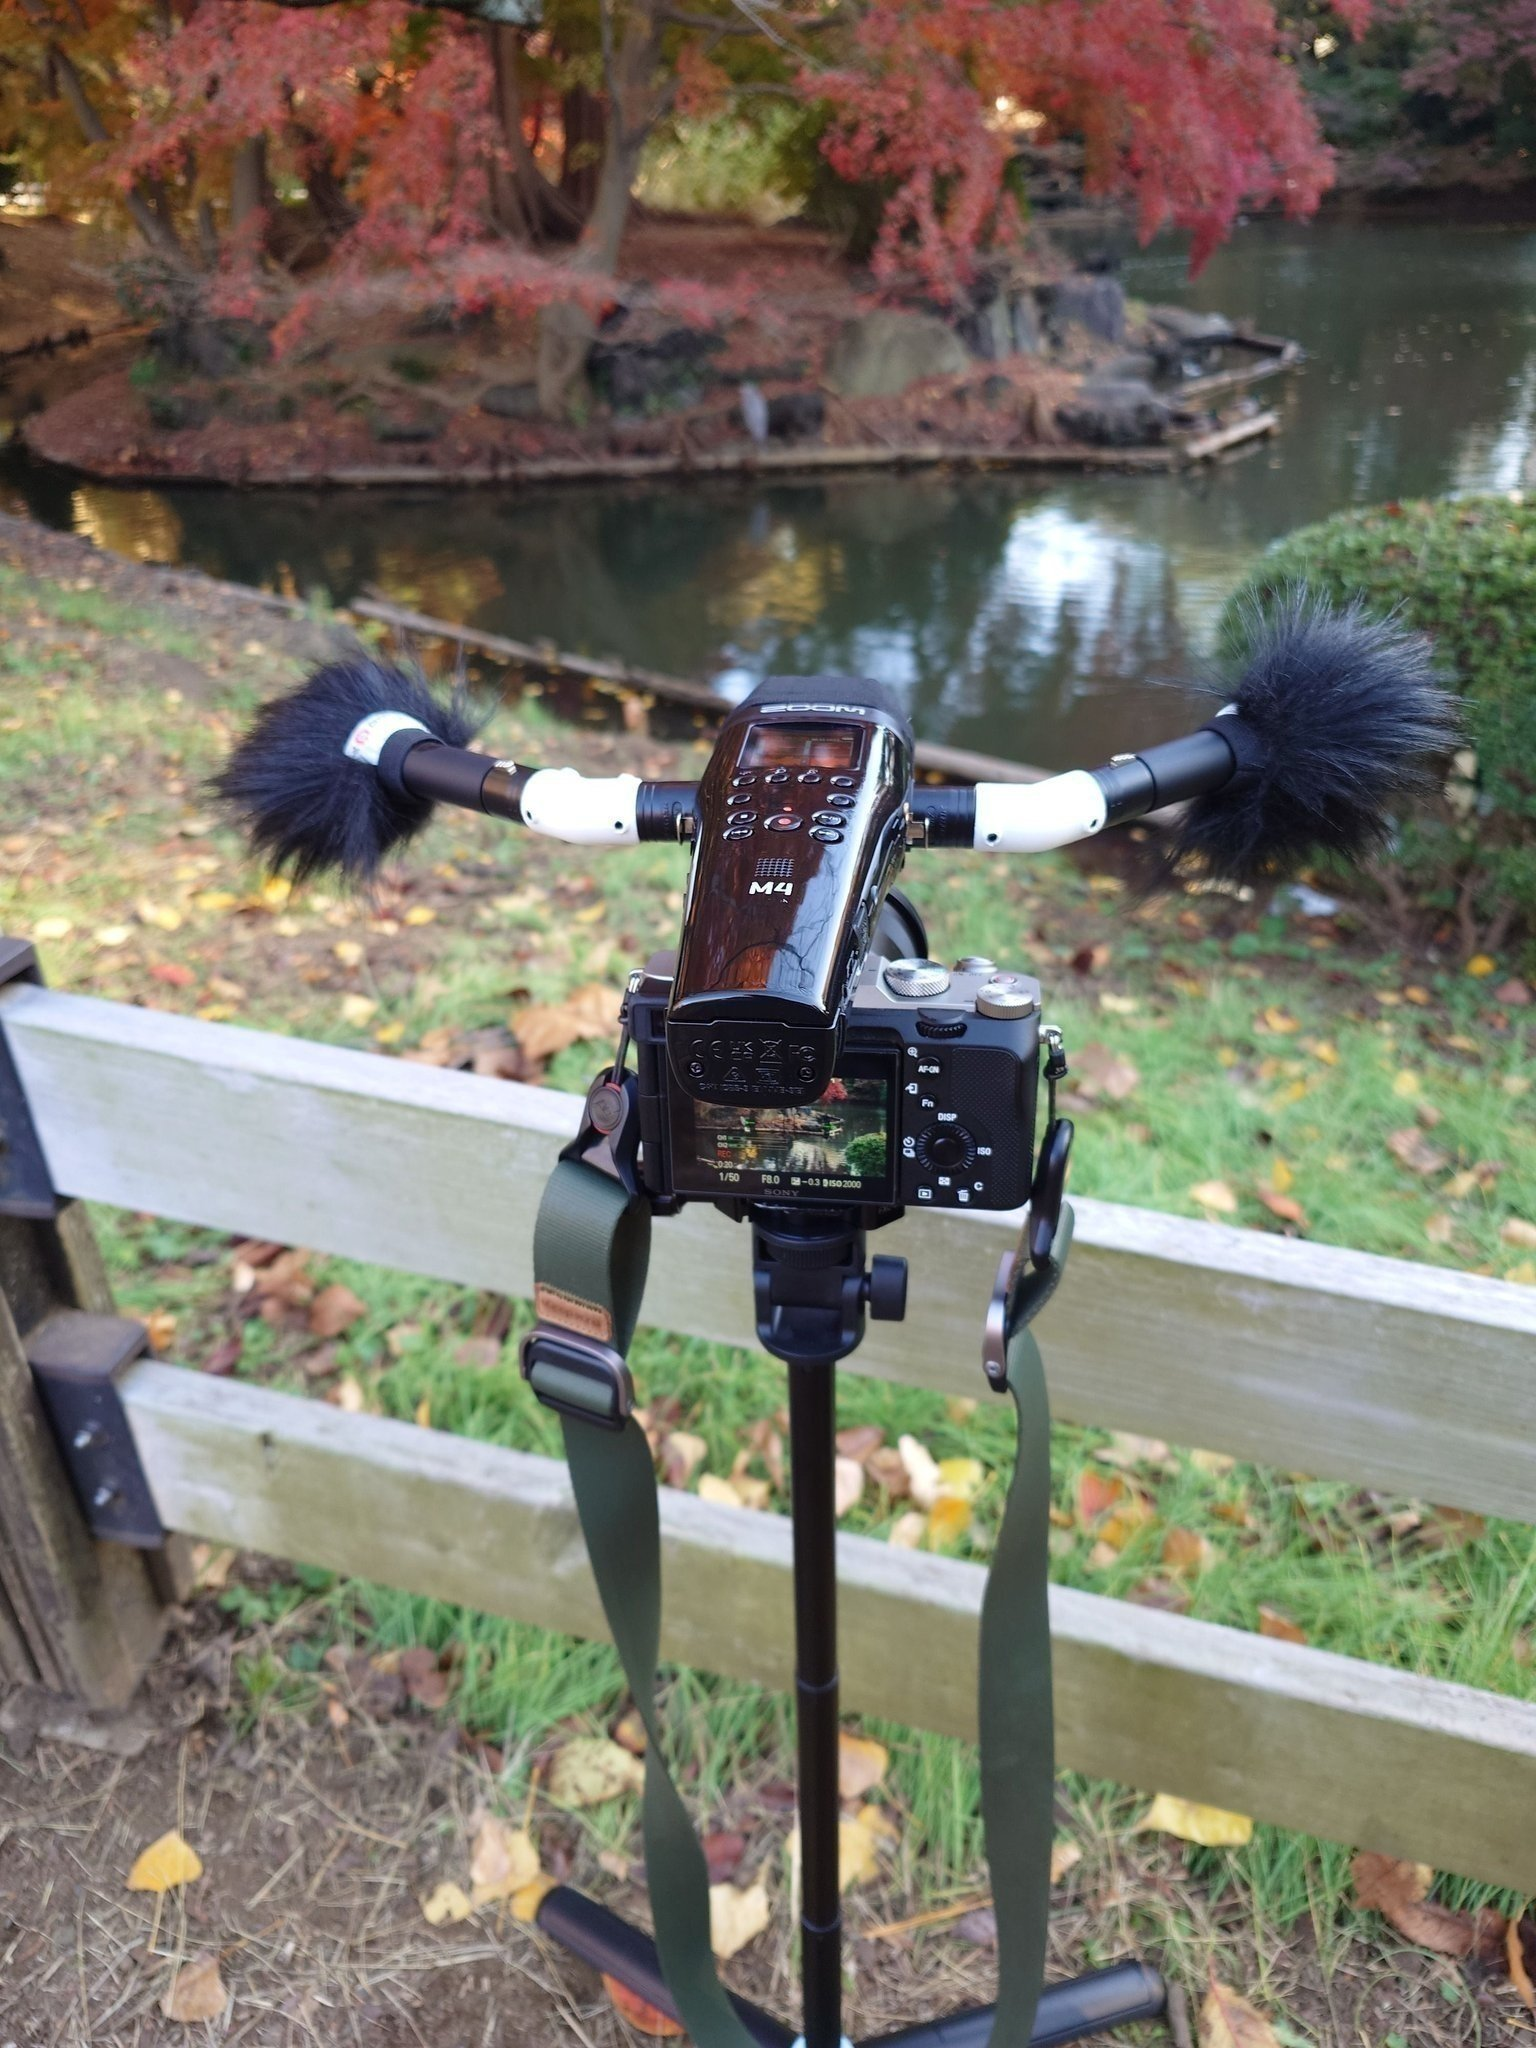
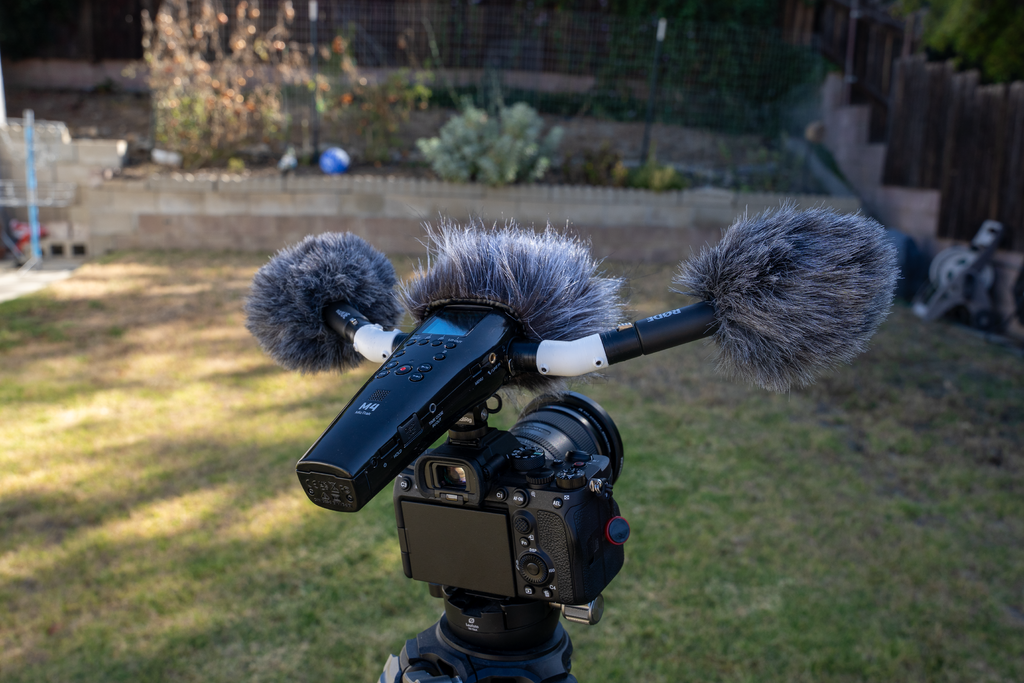
Here’s the M4 setup at Shinjuku Gyoen in Tokyo. The camera and recorder share a stand, with the microphones plugged directly into the adapters. There’s still plenty of equipment involved, but everything does the job that it’s specifically supposed to. Granted that poor little lightstand isn’t meant for it, but it works!
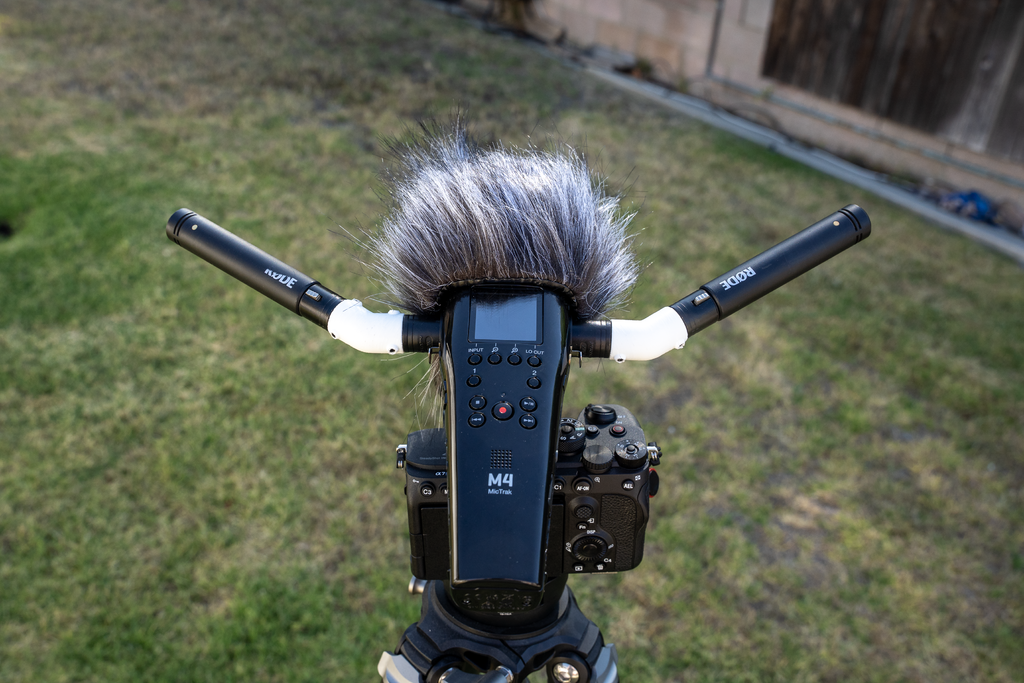
Pseudo-ORTF, with emphasis on the pseudo
To quote wikipedia: “The ORTF stereo technique, also known as side-other-side, is a microphone technique used to record stereo sound. It was devised around 1960 at the now-defunct Office de Radiodiffusion Télévision Française (ORTF).” ORTF has a very specific geometry: two cardioid microphones, with their capsules 17 cm apart and their axes at an included angle of 110°. You can see those dimensions in Schoeps’ description of its ORTF set. It needs all three parts to be called ORTF: pattern, spacing, and angle.
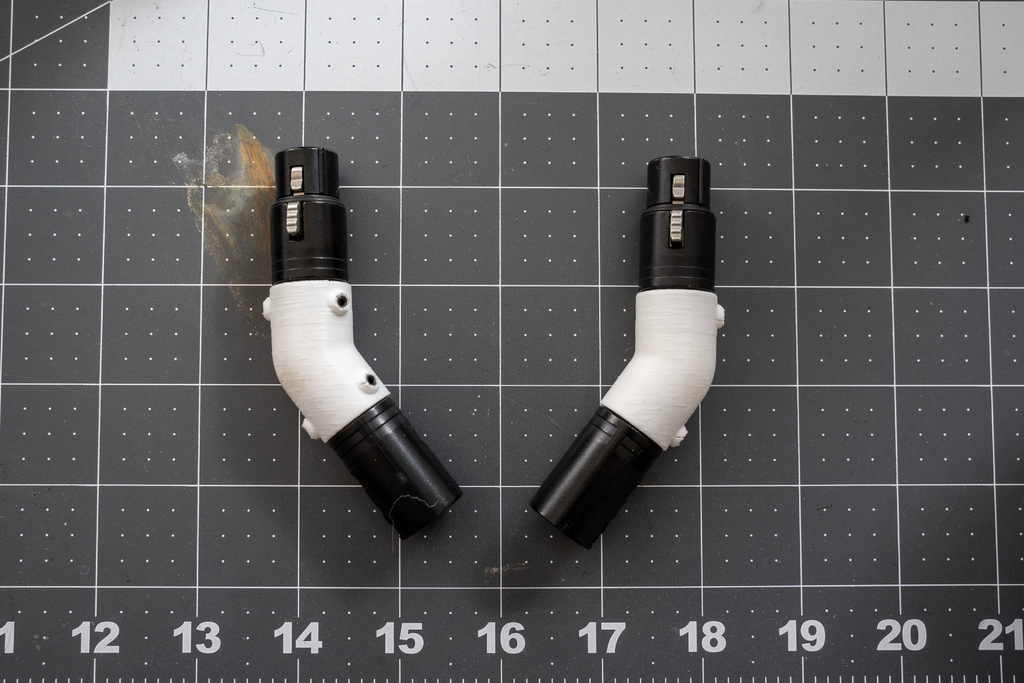
There are two versions of the printed adapter, 35° and 55°, to suit different recorder layouts. Those are the adapter angles, rather than the total angle between the microphones. Choose the version for your recorder below to get the intended 110° that ORTF specifies.
The part I cannot fix by printing without some extra annoying lump, the distance between the capsules. The recorder has a width and offset, and the microphones have length. Which means with both the mics I’ve used, the capsules farther apart than the standard 17 cm.
So I’m calling it pseudo-ORTF (someone on AirWiggles called it pseudORTF.) It borrows the microphone angle, but it is a different stereo arrangement.
What the extra spacing changes
A spaced directional pair combines differences in level with differences in arrival time between the microphones (plus of course the pattern.) Changing the spacing changes those timing cues, even if you keep the microphone angle the same. DPA’s overview of stereo techniques is a useful reference for how spacing, angle, and polar pattern work together.
Here, practically speaking, the implication is an ORTF-like stereo effect for more distant sounds. So for soundscapes, it still works perfectly well and convincingly on both headphones and speakers, but I probably would not want to make that claim on more near field things like dialog.
The great frustration for me over the years with spaced omnis is that I tend to do my critical listening (and enjoying) on headphones. Some things (like the spaced omnis) sound great on speakers, but fall flat on headphones, other techniques like binaural heads are the other way around, sounding great on headphones but really bad on speakers. ORTF, and by extension this technique, threads that needle of sounding great and giving solid reproduction on a nice sound system, but also thanks to the cardioid pattern largely mimicking the way human hearing work, gets you 90% of the way to a binaural experience with headphones.
If exact ORTF geometry is the requirement, a bar or mount that actually holds the capsules at 17 cm is the more appropriate tool. This project is about making a particular compact rig easier to use.
Zoom M4, Tascam FR-AV2, and other XLR recorders
The M4 was the starting point because its opposing side-mounted XLR inputs make this arrangement practical. It is also a recorder I enjoy tinkering with, as you may have gathered from my M4 mic delete modification. That is a separate project; these adapters don’t require removing the built-in microphones.
I also made the adapters for my Tascam FR-AV2. The important thing when moving this idea between recorders is the physical layout: where the sockets sit, how the connectors are rotated, and what the microphones clear once everything is plugged in (well and wind protection, you can never forget wind protection.)
| Printed adapter version | Intended recorders |
|---|---|
| 35° | Zoom M4 MicTrak and Zoom F6 |
| 55° | Tascam FR-AV2 and Zoom F3 |
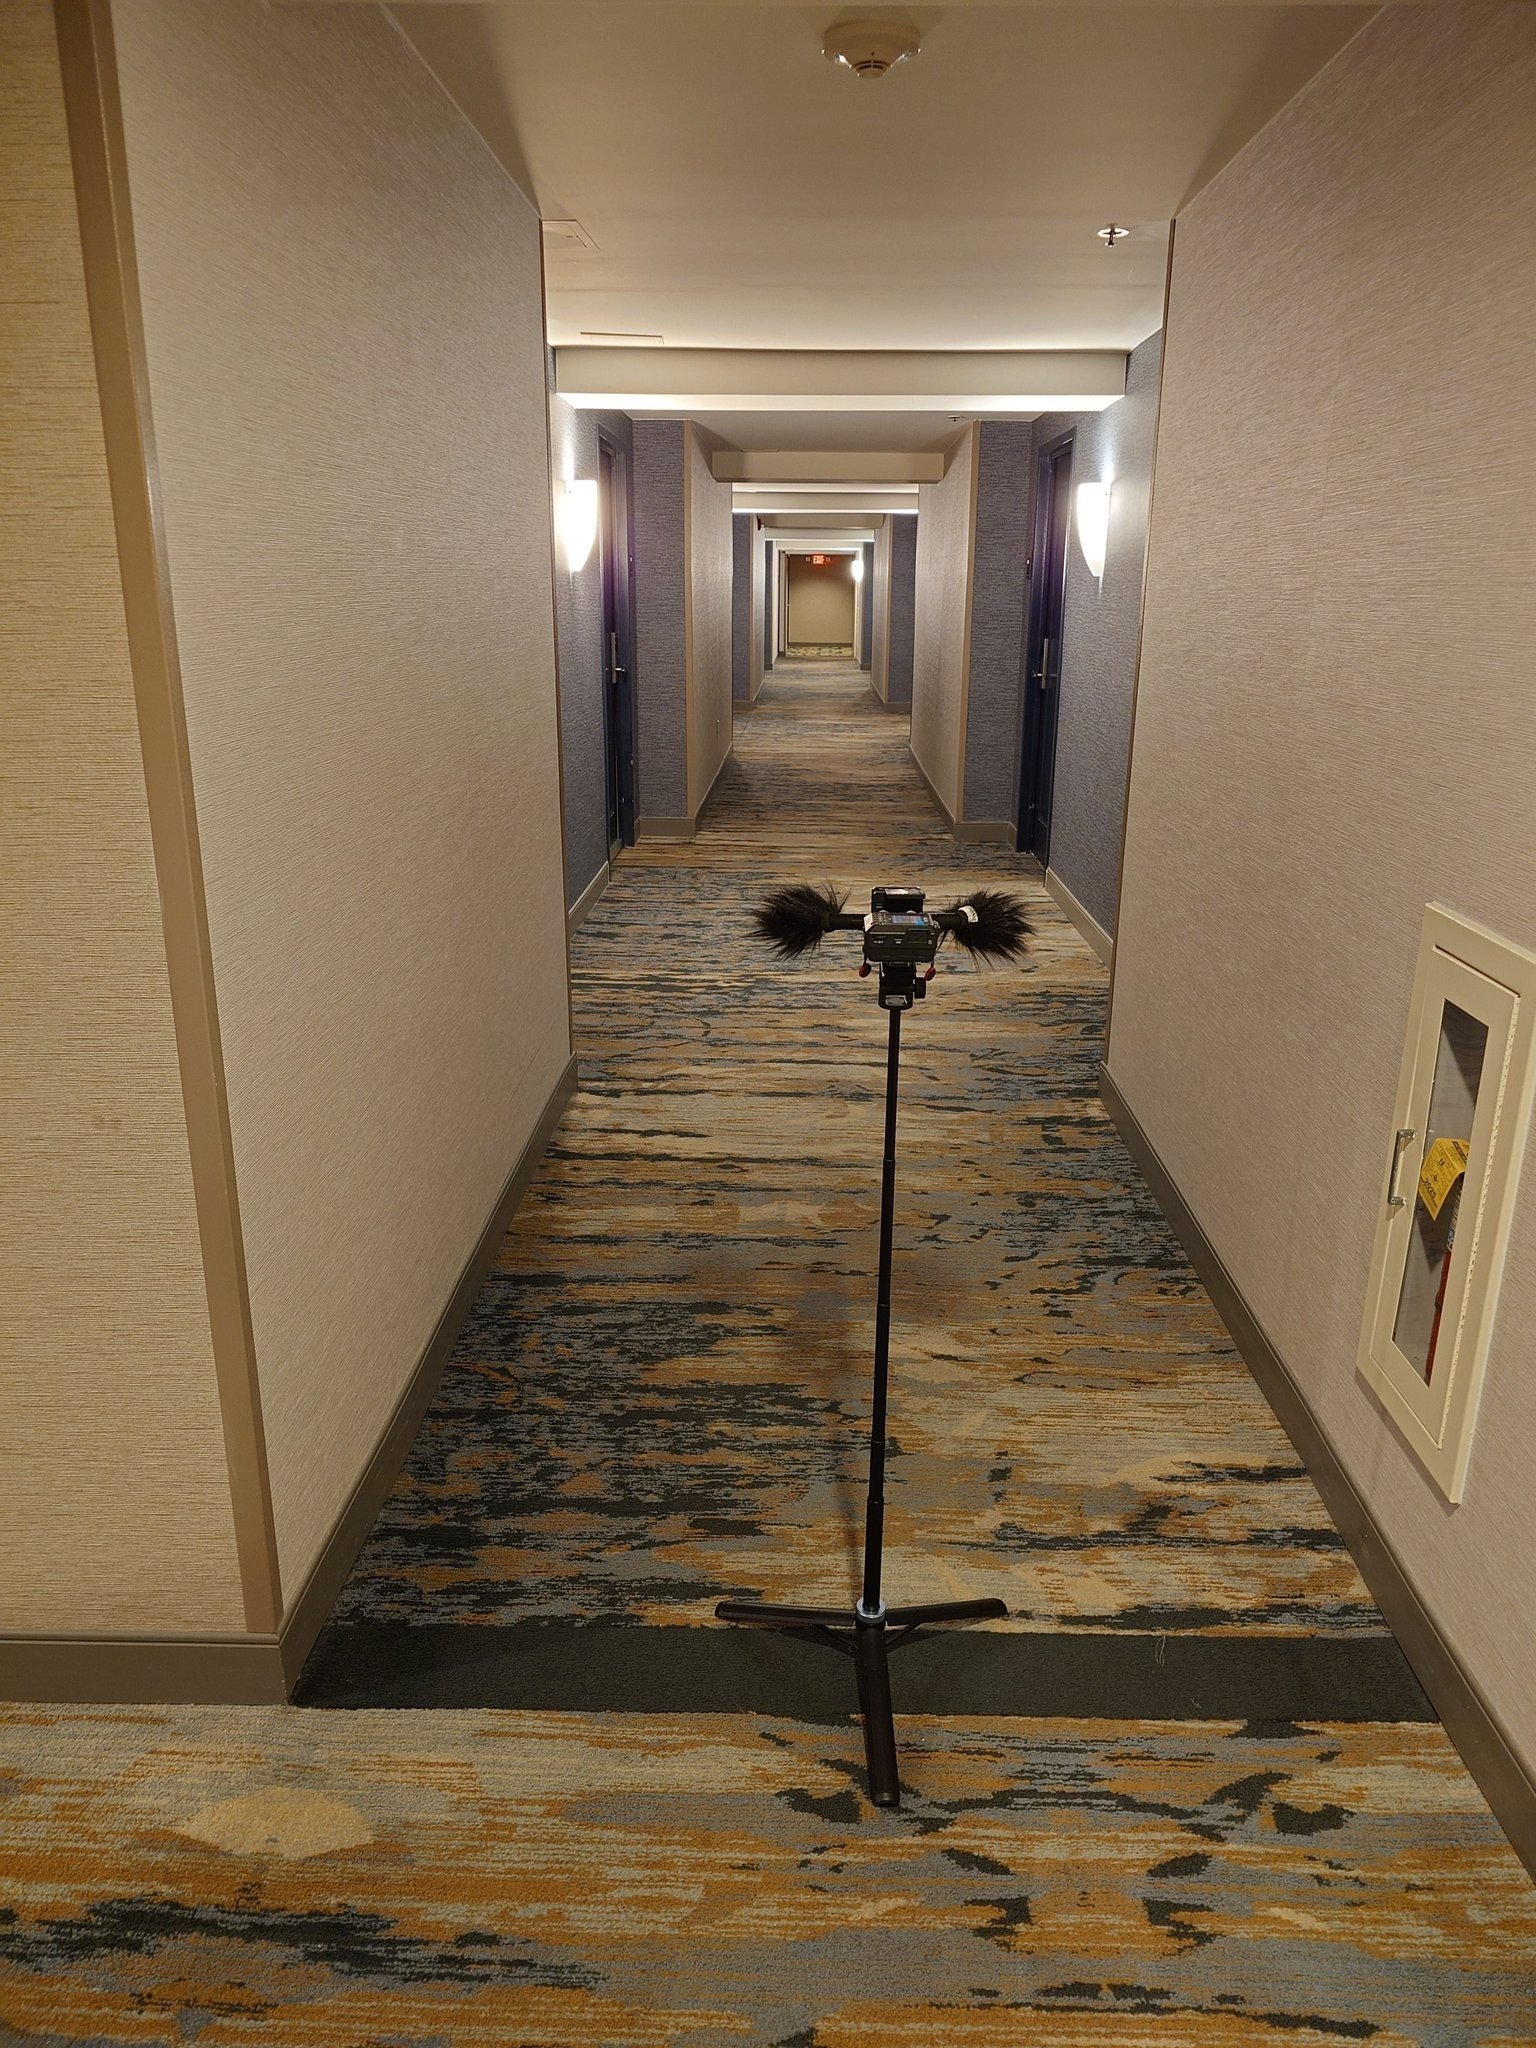
Here’s the 55° version on my Tascam FR-AV2. Two microphones, their Gutmann wind protection, and the recorder, all sitting on one small stand. This is the kind of setup I wanted the adapters to make possible: something compact enough that bringing external microphones doesn’t become a whole production.
Each printed body takes a Neutrik NC3MXX and NC3FXX connector pair, secured with four set screws. Setting the connector orientation lets you align the assembly with the recorder, but the printed body fixes the adapter angle. Choose the appropriate version first, solder the wires together, align the rotation to a flat plane, and then tighten the set screws. On mine, because I travel, I threw some extra glue in too to make sure that they don’t need fiddling with on the road.
For another recorder, check that both microphones can point forward symmetrically, that the controls and connector releases remain accessible, and that the windscreens have room. Then measure the actual capsule spacing. A different body or a different pair of microphones can give you a different arrangement even with the same printed parts.
Microphones, wind, and the weight of the world
I started with a pair of RØDE M5s, and later moved to Rycote CA-08 microphones. For the ORTF-inspired arrangement discussed here, cardioids are the starting point, but you do you. Putting a different polar pattern at the same angle is another experiment, rather than a way to preserve the same pickup behavior.
There is also a fairly obvious mechanical tradeoff: once the microphones plug directly into the recorder, the XLR connections are supporting them. A longer microphone gives a bump more leverage on the socket, and longer mics make for even more torque. Take care when moving around. Some recorders use fairly delicate jacks because, why not value engineer that part of them…
Likewise, a rigid adapter is not a shock mount. Holding the recorder still, pressing buttons, shifting your grip, and walking are all things worth listening for in a test recording. Being able to carry the rig in one hand doesn’t mean every recording made while walking will be usable.
Allow room for the wind protection you actually intend to use, too. Check the assembled rig with it fitted, rather than discovering outside that the nice compact geometry only works with bare microphones.
Putting a pair together
Download the 35° or 55° body from the Thingiverse project, choosing the version for your recorder. Each printed adapter requires:
- 1 Neutrik NC3MXX
- 1 Neutrik NC3FXX
- 4 × 6-32 × 1/8″ set screws
For a stereo pair, double that: two printed bodies, two NC3MXX connectors, two NC3FXX connectors, and eight set screws. The printed parts hold the connectors at the chosen angle; the electrical connections still need to be made between them.
Print each adapter standing on one of its open ends. In that orientation, no supports should be required on most printers. Check the sliced preview and connector fit with your own printer before committing to the complete pair.
My suggested first setup is deliberately unexciting: fit everything at the desk, check the connector orientation and clearances, and make a short recording. Confirm that the microphone on your left ends up in the left channel, both channels are working, and the arrangement stays put without forcing anything.
Write down what you made
And because this is the FieldLog.net blog, I’m told by law I need to mention the app.
“Stereo pair” is a pretty incomplete note if you are changing recorders, microphones, and spacing. Alongside the location and subject, record the microphone model, recorder, capsule spacing, approximate angle, and wind protection. A setup photo can save a lot of explanation later. Build this all into a kit in the app and you can select it with one click when making a new recording.
Years later, if you want to do something different with the recording, “Pseudo-ORTF, 110°, measured capsule spacing” with the actual measurement is much more useful than trying to reconstruct the rig from memory after importing another card of files.
I like small projects like this because the result is very tangible. A little plastic, some connectors, maybe a burn from soldering, and one fewer thing to fiddle with before packing my bag.
If you make a pair, I would love to hear which recorder and microphones you used, what spacing you ended up with, how it worked out, and especially if you’d change anything. The files are here on Thingiverse.